Map mods usually have the folder "data/maps/leveldes/" and the files seabed.ipl and seabed.ide
Just drag and drop these files into your GTA San Andreas folder(data/maps/leveldes/)
REMENBER TO BACKUP
And now the gta3.img , where we will add the map files , just open gta3.img with Alci's Editor and import the map files into it , for example i'm installing Luigi's Road and these are the file names!
luigi.txd
luigi.dff
luigi.col
And that's it , save gta3.img and play the game!
Here is an example of a map i installed using the method above!
In this tutorial i will teach on how to extract the .ARC files from the game , you will need ARC Tool , onde downloaded extract it and open the folder.
Now go to your DMC4SE main folder and open this folder!
nativeDX10\rom\player\costume
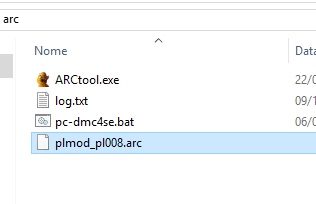
I will extract Lady default costume as an example
(plmod_pl008)
Move the file to the Arc Tool folder , make a backup!
Move the .ARC to the pc-dc3se.bat and wait for it to unpack!
Once done this is what you will see!
Open the extracted folder and keep going until you get to this folder!
Now we will convert the .TEX files to .DDS , just drag and drop pl008_Lady_Body_BM.tex over ARCtool.exe , the textures are the files that end with "BM" , the other ones are shaders!
Onde done , the .DDS file will appear on your folder
Open the .DDS on Photoshop CS6!
You will need this plugin to work with .DDS on Photoshop CS6
Now to convert .DDS to .TEX just drag the .DDS file over ARCtool.exe , the .DDS wil stay there but don't worry!
Now we will save the .ARC file , again just drag plmod_pl008 folder and drop over pc-dmc4se.bat and you're good to go , the arc file is located in the same folder of ARCtool , this is what i could do following this steps!
Nesse tutorial vou te ensinar a editar qualquer som que esteja no RE4 , o formato dos arquivos são .OGG , eu recomendo usar o Vegas Pro 13 ou qualquer programa que converta mp3 para ogg! Você vai precisar do GCA Extractor para extrair o arquivo "ogg.dat" , nesse outro TUTORIAL eu explico como extrair arquivos!
Nós vamos substituir a música tema do Leon no modo mercenários por essa:
O nome da música que vamos substituir se chama st060.ogg , ela se encontra na pasta ogg\Bgm\BGM
(Eu tenho uma LISTA no meu fórum apontando qual áudio é qual)
Você tem que criar a mesma pasta na pasta do seu RE4!
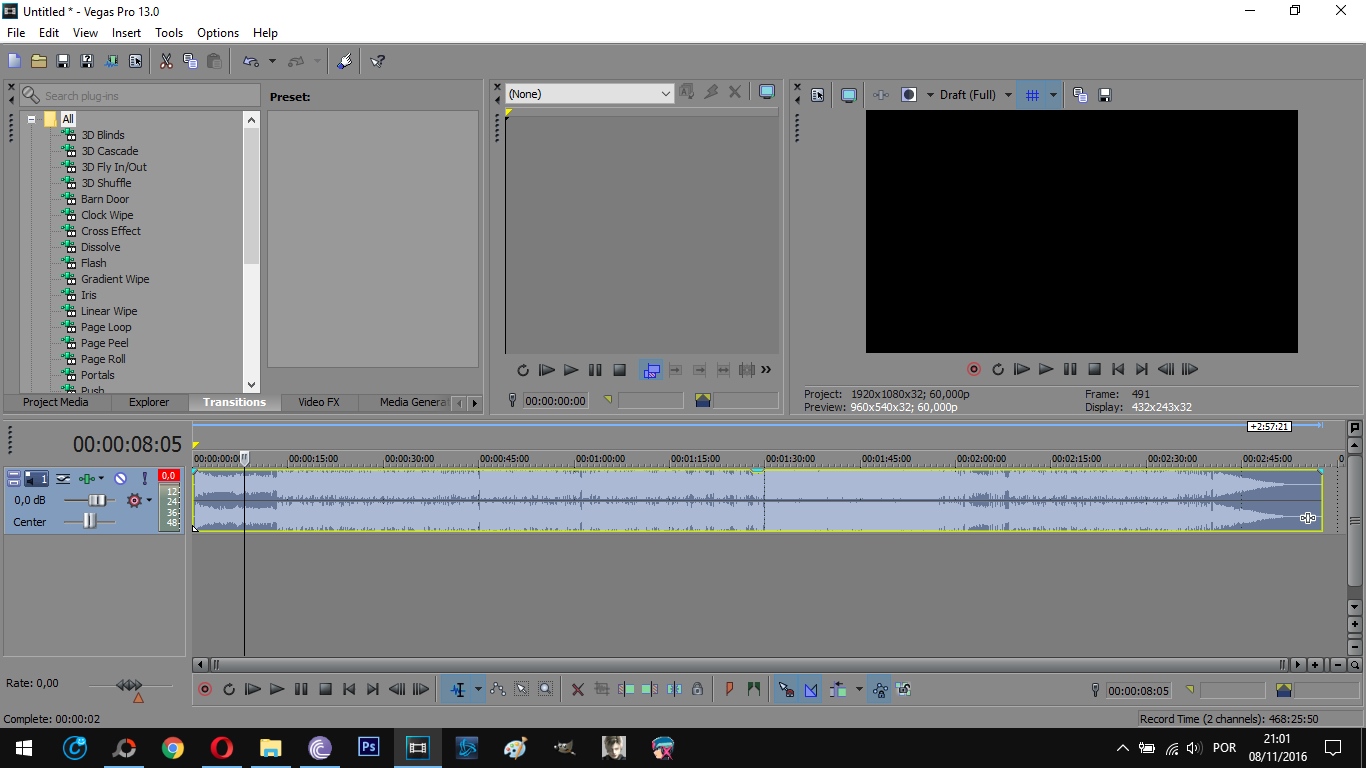
Abra o Vegas Pro 13 e jogue sua música de escolha para a timeline!
Renderize o arquivo em formato .OGG
(Você também pode converter arquivos de áudio online ou com outro programa , eu só to mostrando meu método)
Feito isso , arraste o arquivo pra pasta ogg\Bgm\BGM que está dentro da pasta do seu RE4 e veja o resultado dentro do jogo!
In this tutorial i will teach on how to edit TEXTURES!
The format of the textures used in RE4 is .TGA , you will need a software that open this file , i recommend Photoshop CS6 since it's the one i'm using in this tut.
To extract textures you need a software called GCA Extractor(click the name to download)
Now follow my steps!
1-Put gca_e.exe on your RE4 main folder.
2-Rename "xfile.dat" to "xfile.gca" and double click it!
(on xfile.dat characters and weapons are located)
3-After opening this is what you will see.
4-I want you to click "Create Folder from Arch.." and "Output To Folder" make sure extract xfile.gca to your desktop!
5-Click "OK" and it will extract!
6-Now open the "xfile" folder on your desktop , this is what you will see!
7-Double click the "em" folder and then open the "pl0b" folder , we will give a new color to Ada's haircut.
(i have a LIST on my forum explaining which folder is which char)
After opening the pl0b folder you will see the textures!
8-Double click the "eida_hair.tga" to open on your software of choice.
As you can see it's really small, let's paint it pink!
9-Save it as .TGA! and move the folder to your RE4 main folder to see the results.
It should look like this on your folder
And this is the result ingame!
Here is an example of what i did following this steps!
Download my RESOURCES PACK for tattoos/blood that you can add to a char!
For example , adding tattoos is pretty simple , just open "o_ada_mune.tga" which is her arm/shoulder , drag and drop a tattoo and then save it , here is the result!